Ball Trails in IsoPutt
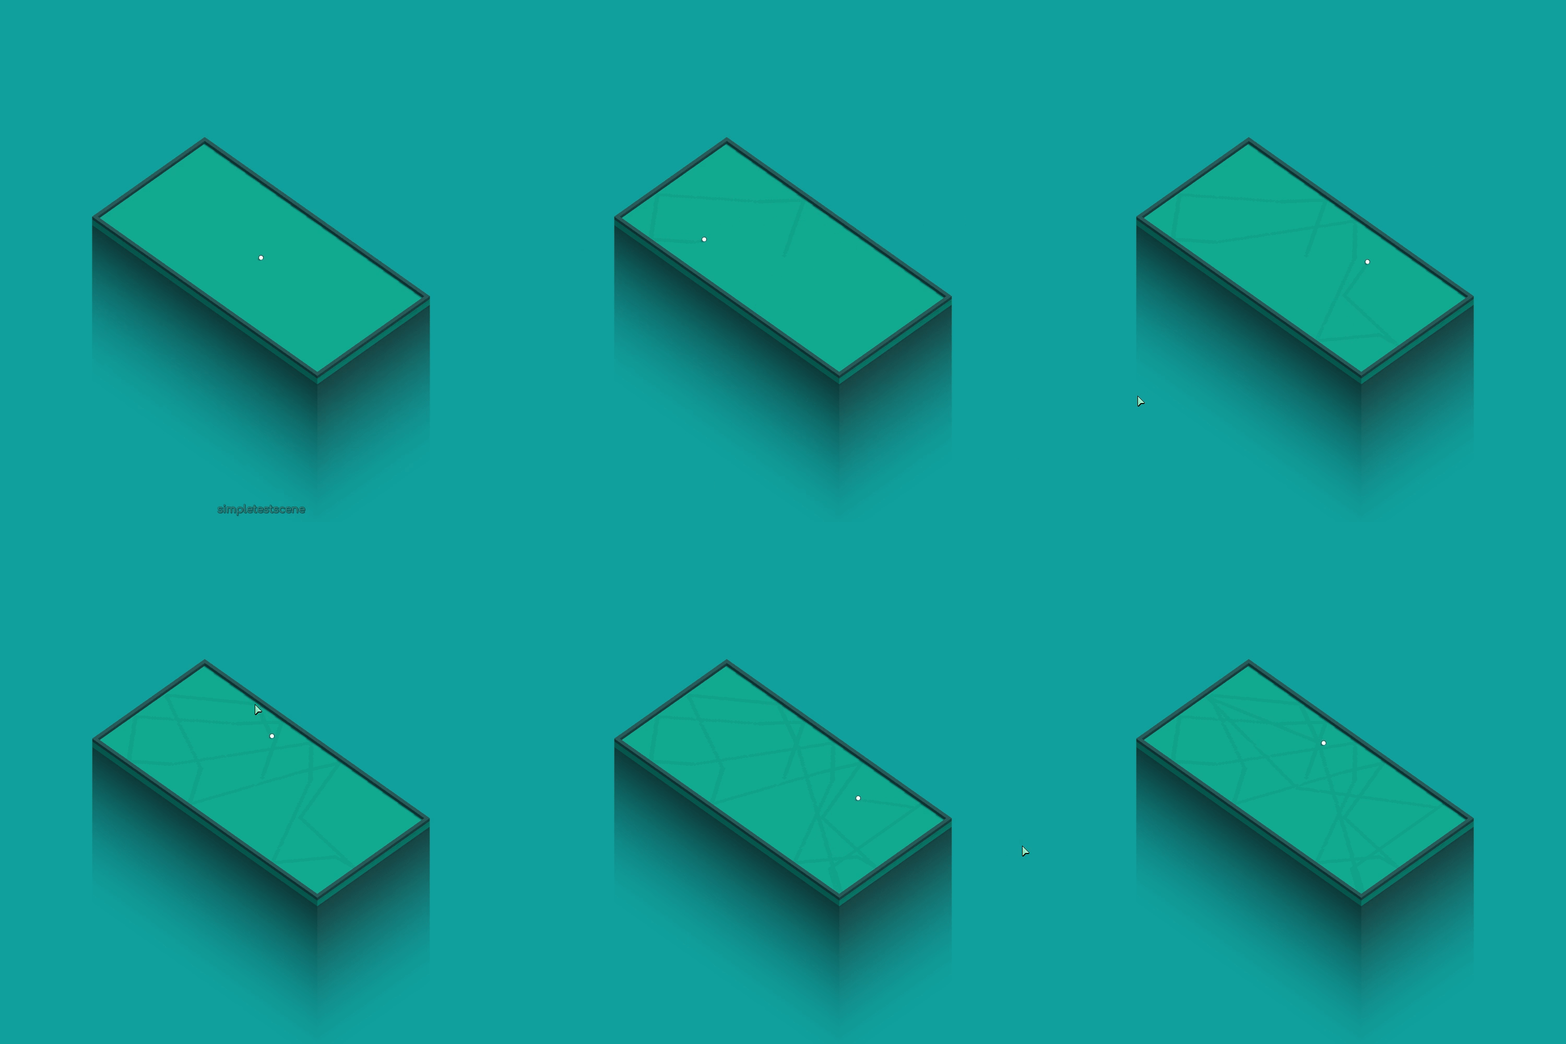
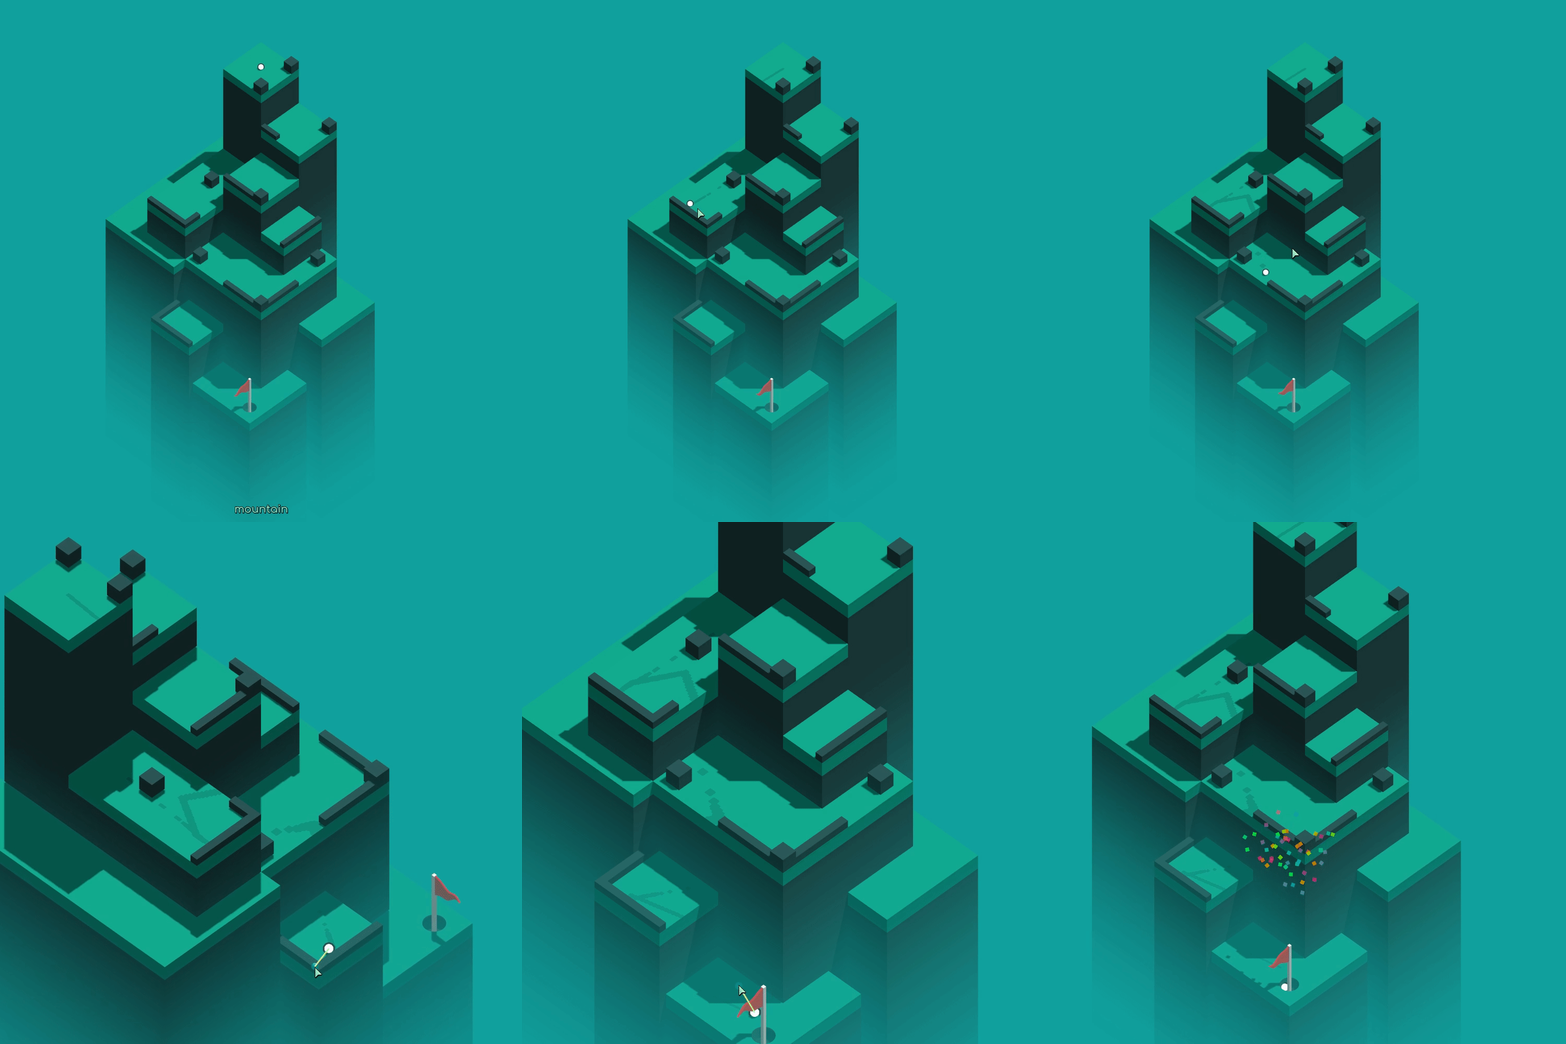
I’ve added a ball trail to IsoPutt. It serves two purposes: one, it’s like how in Super Meat Boy you can see all of your failed attempts. In IsoPutt, the ball trail doesnt reset when you fail the level, so you see all the lines you’ve made.
Additionally, I’m trying to make the ground look a bit more like grass. I think I have some further iteration to do on this… perhaps using a foliage texture for the brush on the ground.
This post describes how I created this ball trail effect in IsoPutt using the Godot engine. At a high level, it involves using barycentric coordinates to transform a world position into a uv coordinate, then uses a shader on the green with a decal map, two color indicies, and a palette texture in order to draw the trails.

The ball’s touch darkens the green texture underneath it.
Drawing Under the Ball
In order to figure out where on the green’s UV map to draw, I needed to convert the ball’s collision position into a UV coordinate.
In the ball’s _physics_process, we have this block of code:
# Draw ball trails on the green
if physics_material_name == "green":
	var ball_trail := collision.collider.get_node("../") as BallTrail
	if ball_trail != null:
		ball_trail.draw_on_point(collision.position)
The BallTrail class is a script extending from MeshInstance. If ball touches the green, it looks for the BallTrail node, and if it finds it, calls draw_on_point.
draw_on_point uses barycentric coordinates to find which triangle the ball is on, then gets the UV coordinates and calls into draw_on_uv in order to draw a spot on the decal map. Note that this function, and draw_on_uv, only really work on the default Godot cube. To extend them to a more general solution, you’d have to find if the brush lies on multiple triangles. IsoPutt’s greens are all secretely just cubes, so it works well enough for this game.
This function uses the MeshDataTool class to access the vertex and triangle data. That class provides a nice interface over raw mesh data access.
# Draws on the decal map at point p
func draw_on_point(p:Vector3):
	var t:Transform = global_transform

	# Iterate over every triangle in the mesh
	for triangle_index in mesh_data_tool.get_face_count():
		var a_index := mesh_data_tool.get_face_vertex(triangle_index, 0)
		var b_index = mesh_data_tool.get_face_vertex(triangle_index, 1)
		var c_index := mesh_data_tool.get_face_vertex(triangle_index, 2)

		var a := mesh_data_tool.get_vertex(a_index)
		var b := mesh_data_tool.get_vertex(b_index)
		var c := mesh_data_tool.get_vertex(c_index)

		a = t.xform(a)
		b = t.xform(b)
		c = t.xform(c)

		# A dumb, unoptimized triangle/point intersection test
		var bary := barycentric(a,b,c,p)
		var bary_sum := bary.x + bary.y + bary.z
		if bary.x >= 0 and bary.x <= 1.0 \
			and bary.y >= 0 and bary.y <= 1.0 \
			and bary.z >= 0 and bary.z <= 1.0:
				if abs(1.0 - bary_sum) < 0.001:
					var uv_a := mesh_data_tool.get_vertex_uv(a_index)
					var uv_b := mesh_data_tool.get_vertex_uv(b_index)
					var uv_c := mesh_data_tool.get_vertex_uv(c_index)
					var uv := barycentric_to_uv(uv_a, uv_b, uv_c, bary)
					draw_on_uv(uv)
					return
Note that the MeshDataTool only works on ArrayMesh, so if you have a different mesh (eg: CubeMesh), then you must convert it to an array mesh first by using some code like this:
func create_mesh_data_tool(mesh:Mesh) -> MeshDataTool:
	var array_mesh = mesh
	if !array_mesh is ArrayMesh:
		var surface_arrays = mesh.surface_get_arrays(0)
		array_mesh = ArrayMesh.new()
		array_mesh.add_surface_from_arrays(Mesh.PRIMITIVE_TRIANGLES, surface_arrays)
	var mesh_data_tool = MeshDataTool.new()
	mesh_data_tool.create_from_surface(array_mesh, 0)
	return mesh_data_tool
Barycentric Coordinates
Barycentric coordinates are a way to represent a point on a triangle. I learnt what they were by reading this great writeup by scratch-a-pixel. In essence, they are a bridge between the world space coordinate system and the uv space coordinate system.
# Returns the barycentric coordinate for the point p on triangle (a,b,c)
func barycentric(a:Vector3, b:Vector3, c:Vector3, p:Vector3) -> Vector3:
	var a0 := triangle_area(a,b,c)
	var u := triangle_area(p, c, a) / a0
	var v := triangle_area(p, b, a) / a0
	var w := triangle_area(p, c, b) / a0

	return Vector3(w, u, v)

# Returns the area of a triangle
func triangle_area(a:Vector3, b:Vector3, c:Vector3) -> float:
	return (b-a).cross(c-a).length() * 0.5
UV Coordinates
Once you can calculate the barycentric coordinate for a point inside a triangle, you can easily find the UV coordinate of any point inside the triangle. To map the barycentric coordinate onto UV space, you must provide the UV points for the 3 verticies of the triangle.
# Returns the UV coordinate of the barycentric point p on the triangle (a, b, c)
func barycentric_to_uv(a:Vector2, b:Vector2, c:Vector2, p:Vector3) -> Vector2:
	return a * p.x + b * p.y + c * p.z
Drawing the Decal
Now we take the UV Coordinate and draw onto a black and white texture called a decal map. White means trail, black means no-trail. The decal map has to be the right size for the size of the mesh we are drawing on. For IsoPutt’s green cube meshes, I use the meshes globalscale * 26.5, such that a cube mesh with a scale of 10x10 has a 256x256 decal map.
Note that the brush size is 4x6. That’s what’s needed to draw squares on the default Godot CubeMesh’s UV Map. Pretty weird. 😐
func create_decal_map(uv_map_size:Vector2) -> Image:
	var image = Image.new()
	image.create(uv_map_size.x, uv_map_size.y, false, Image.FORMAT_R8)
	return image

func draw_on_uv(uv:Vector2):
	var width := image.get_width()
	var height := image.get_height()

	# Pixel coordinates from uv coordinate
	var pixel_x := int(round(uv.x * width))
	var pixel_y := int(round(uv.y * height))

	# Default Cube's UV map has a width to height ratio of 2:3
	var brush_size_x := 4
	var brush_size_y := 6

	var brush_min_x := round(clamp(pixel_x - brush_size_x * 0.5, 0, width))
	var brush_max_x := round(clamp(pixel_x + brush_size_x * 0.5, 0, width))
	var brush_min_y := round(clamp(pixel_y - brush_size_y * 0.5, 0, height))
	var brush_max_y := round(clamp(pixel_y + brush_size_y * 0.5, 0, height))

	# Draw on the Image
	image.lock()
	for x in range(int(brush_max_x - brush_min_x)):
		for y in range(int(brush_max_y - brush_min_y)):
			image.set_pixel(brush_min_x + x, brush_min_y + y, Color.white)
	image.unlock()

	# Write the image to a texture
	var decal_texture := ImageTexture.new()
	decal_texture.create_from_image(image)

	# Set the texture on the material
	material.set_shader_param("decal_map", decal_texture)
The Green’s Shader
Now that we have the decal map, we need to sample it inside the green’s shader and select between the regular green color and the trail color. This shader uses a single color palette texture and two different color indicies to reference the green color and the trail color. It does this to integrate into IsoPutt’s color pallete system: swatchd. This system allows you to reference centralized colors by name. It’s a great way to manage colors in a game, because then all the colors are editable from one centralized place.
shader_type spatial;

uniform sampler2D decal_map;
uniform sampler2D color_palette:hint_albedo;
uniform int color_index;
uniform int color_index2;

void fragment() {
	int c = color_index;
	if (texture(decal_map, UV).r > 0.5) {
		c = color_index2;
	}
	vec4 albedo_tex = texelFetch(texture_albedo, ivec2(c, 0), 0);
	ALBEDO = albedo_tex.rgb;
}
That’s it! It works! I hope this page helped you!
